I miss my log burner.

tutorial

Yes, I know. An odd start to a blog post.

I used to have a log burning stove. It was great, it had a back boiler to heat water for the house and provide wood fired central heating. You could put a pot of stew on the top of it and magically have dinner ready. You could cook scones on top of it, straight on the baking tray and watch them like a hungry cat.

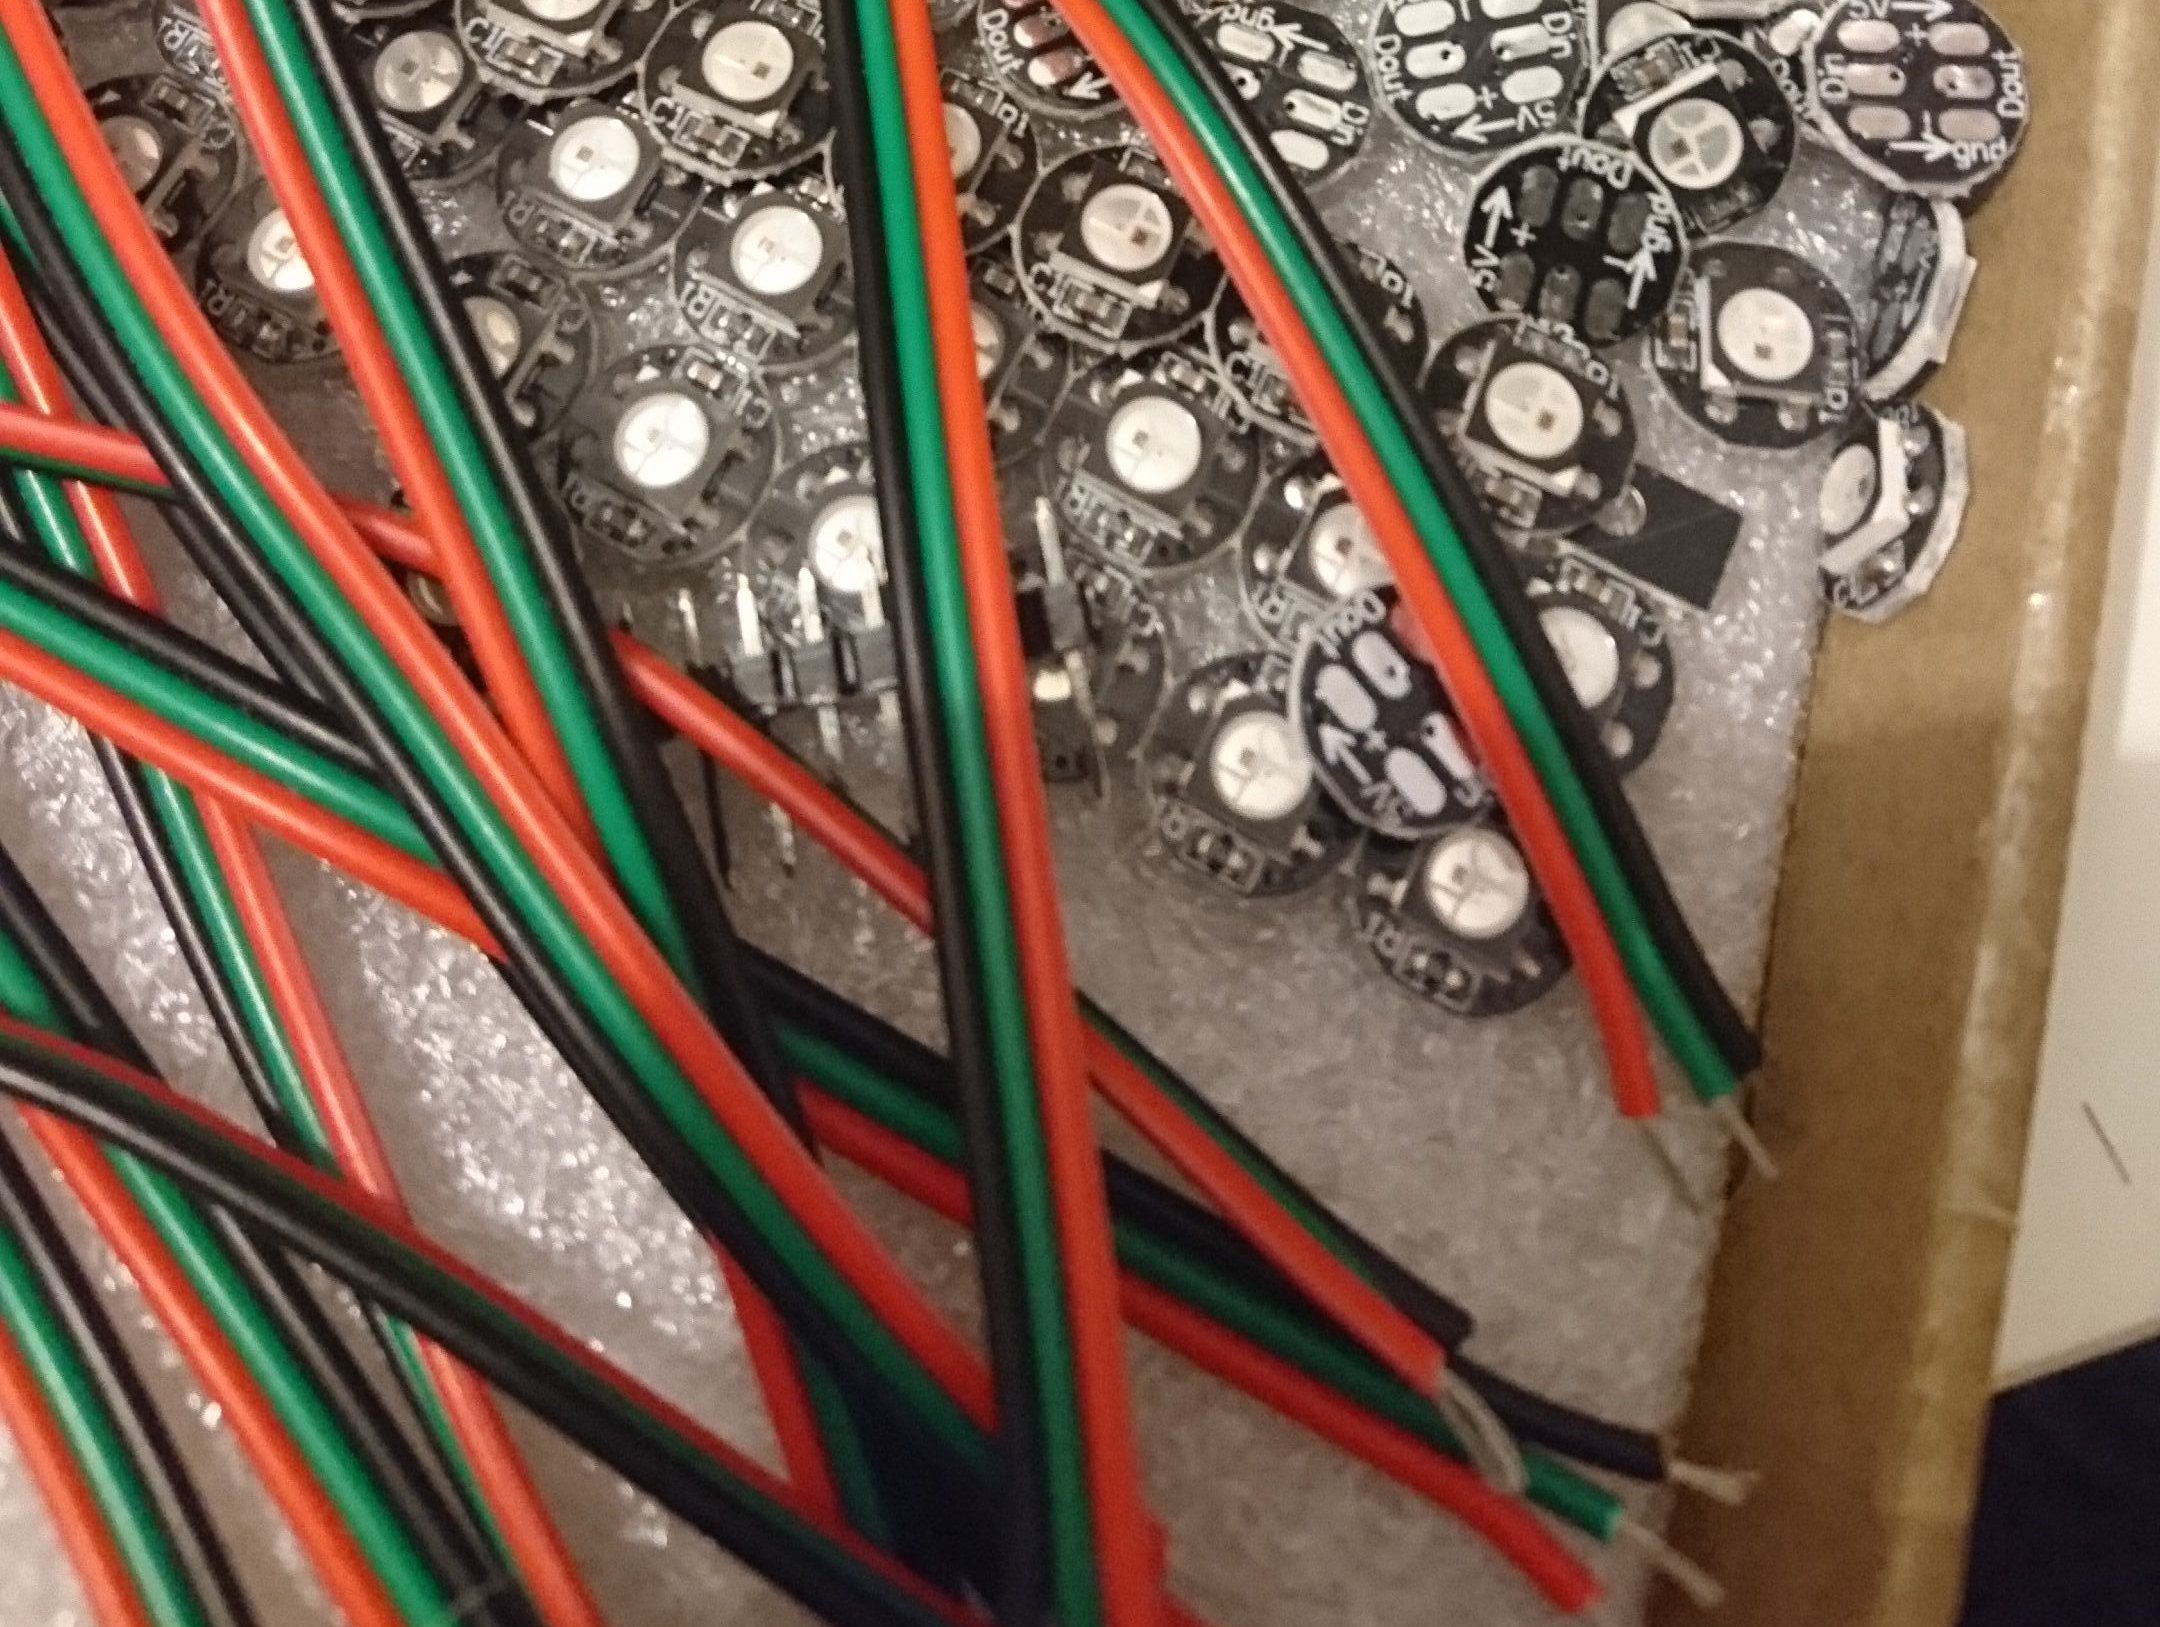
I had the tail end of a reel of neopixels left over from various projects, just three little pixels, and I was thinking of making them the “fire” in a little box frame I picked up for £2 from Hobbycraft. The pixels had electrical tape on them where they’d been hastily stuck to some test rig or other, and the contacts were, quite frankly, clumped up with crap worse than a set of false eyelashes.  This meant they were going to have to be hidden.

DSC_1549

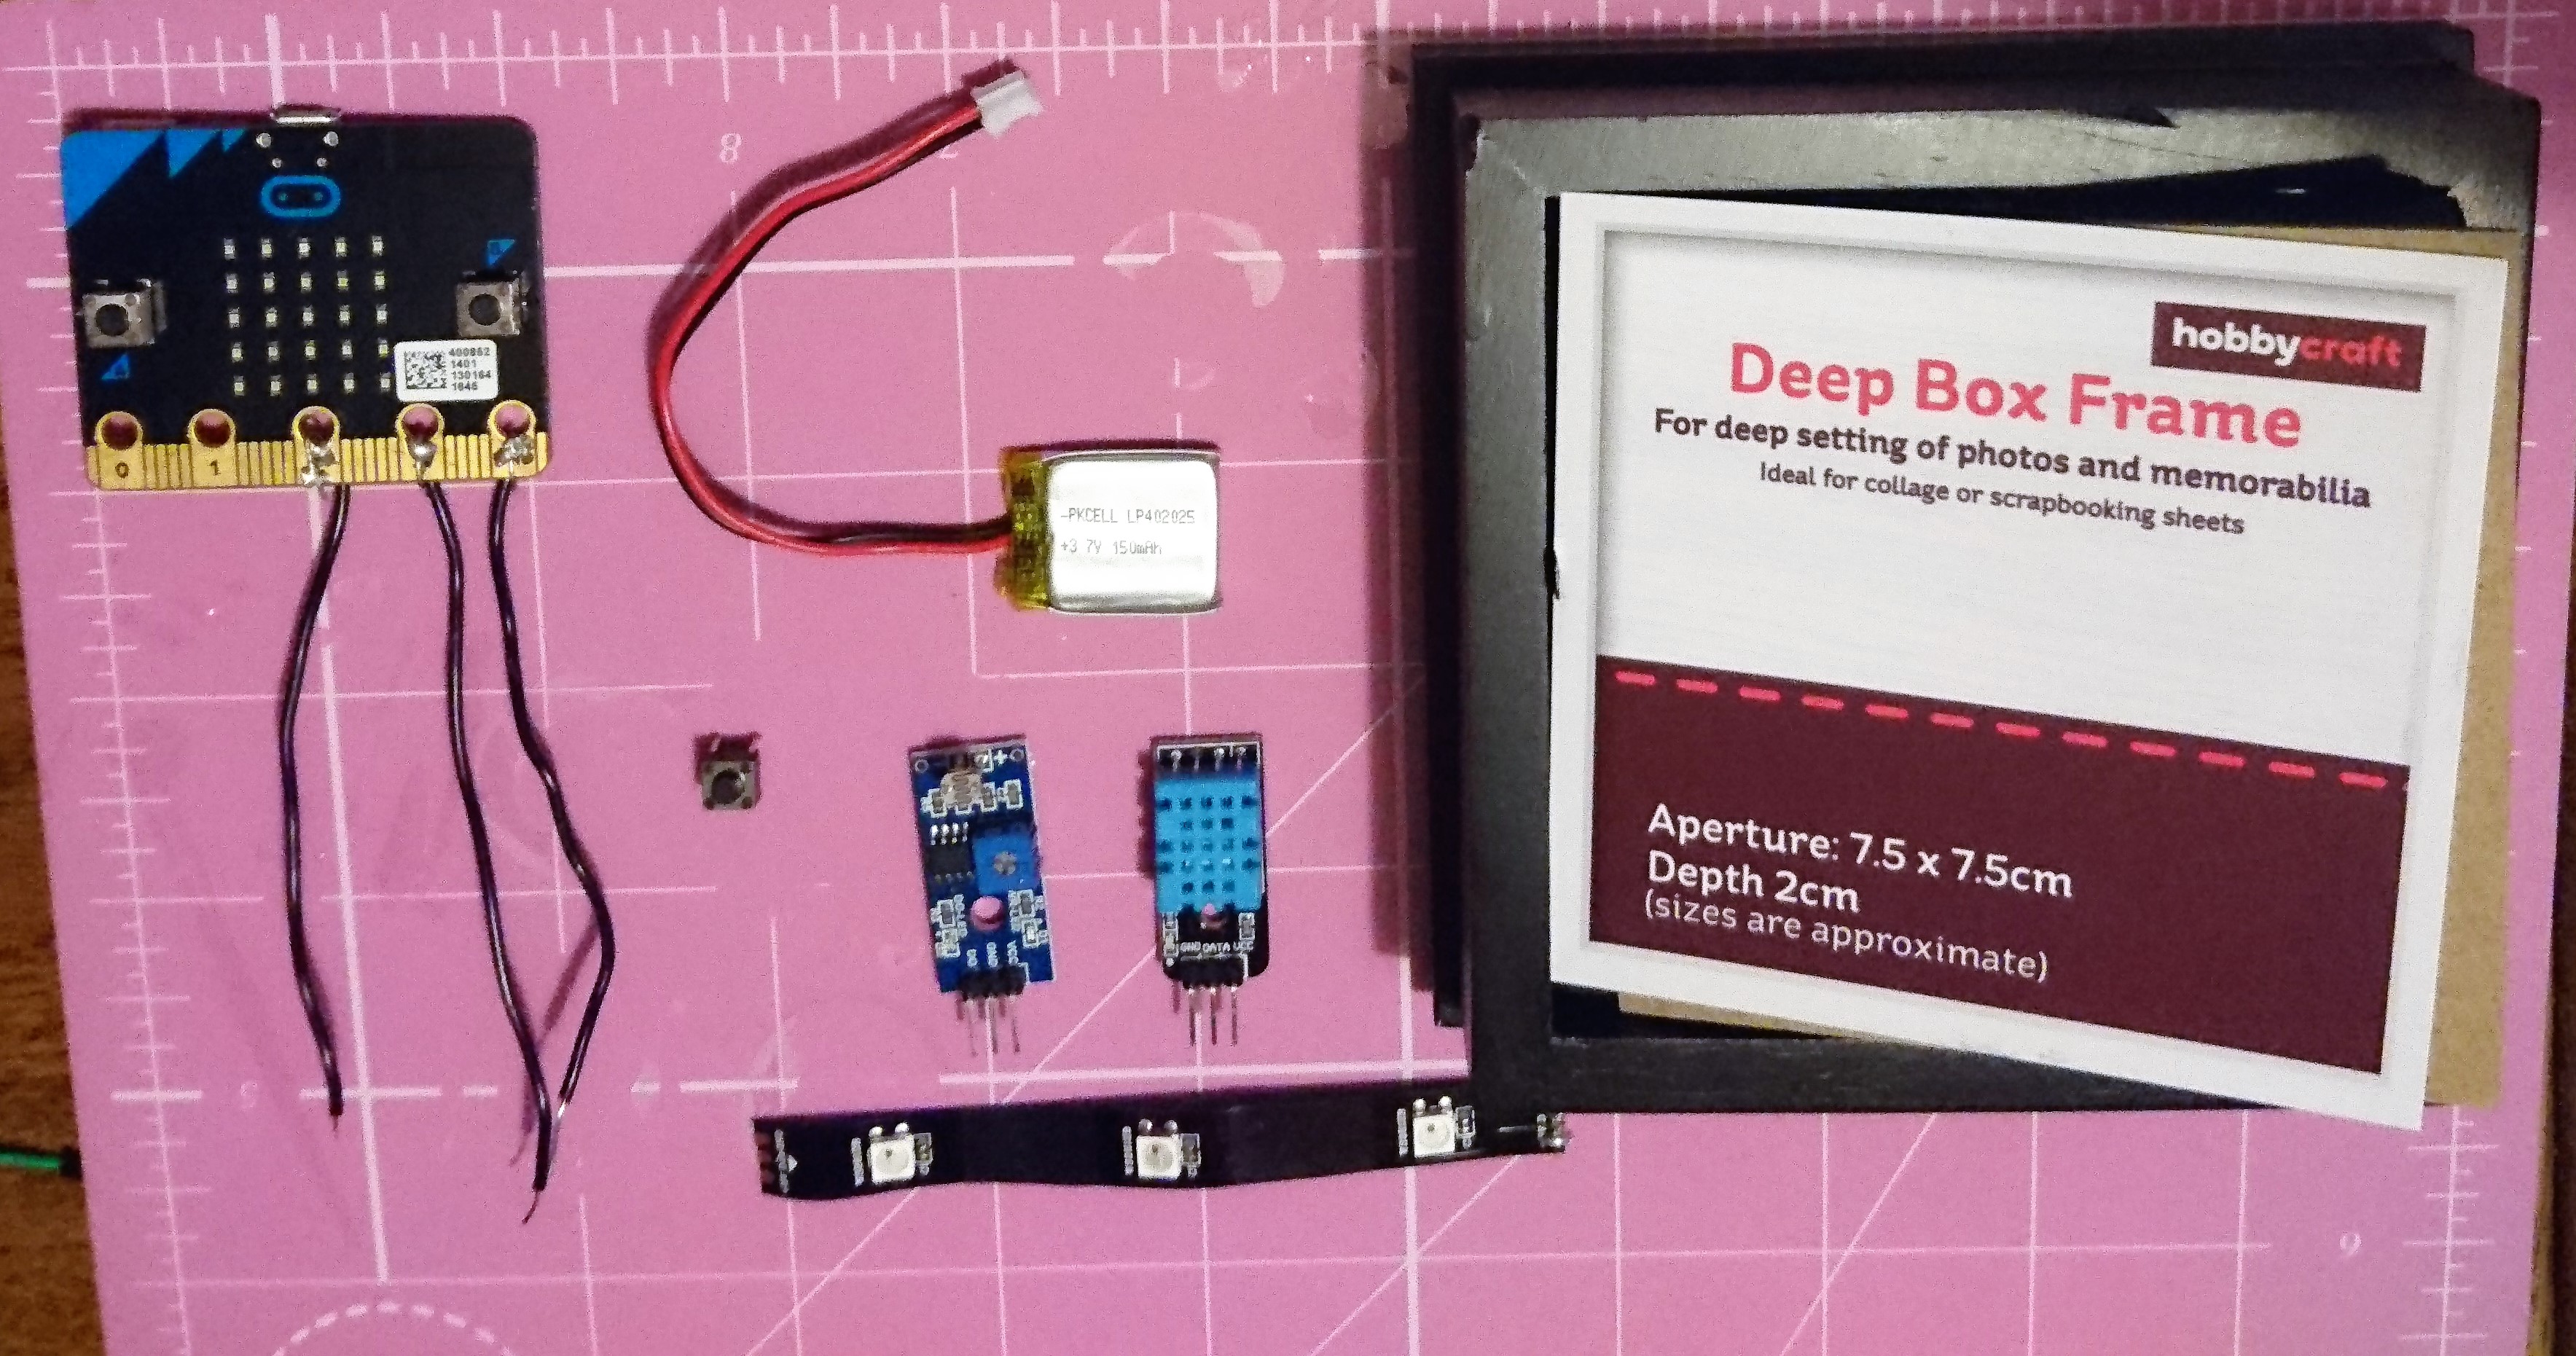
I was noodling around with a bag of sensors I picked up from the cheap and cheerful stall of ABX Labs, and looking at the odd ones that I hadn’t managed to incorporate into a project yet. Lighting up some pixels is kind of standard and not hugely interesting, so I wanted the “log burner” to fire up when it detected *something*.

IMG_dml0q5

Temperature sensor – it’s cold, fire lights. Light sensor – it gets dark, fire lights. Tactile button… let’s not even go there.

Both legitimate solutions, but it’s not in the spirit of things, is it? This is where I grabbed the more unusual sensors (yeah, the ones I didn’t recognise) and I started looking at sales photos on ebay to identify them. Turns out I had a FLAME SENSOR. Yeah, baby. It’s totally logical to me now.

Make a fireplace that lights when you light it.

I used a micro:bit because I wanted the project to be easy to copy, even for those who don’t write standard code.

The sensor detects a flame, or it doesn’t. You can adjust the sensitivity by using a screwdriver on the onboard potentiometer, turn it left (anticlockwise) to make it less sensitive, right (clockwise) to make it more sensitive. Try it out by connecting it like this:

DSC_1569

Once you’ve figured out how close you want the flame to be, leave the potentiometer as it is. It will now be in one of two states – flame, or no flame. You can use this as a digital signal like a keypress to trigger an event using the microbit. Just make note of which pin you connect the data pin to, and use the “on pin (whatever) pressed… ” block.

Wire up your neopixels and sensor like this.

DSC_1570

The code I used has a HUGE nod to Phil Burgess’ jack o lantern code for the Adafruit Circuit Playground, because it’s essentially a random flicker generator, and I didn’t want to reinvent the wheel. I just modified it to use the strip connected to the micro:bit instead of the onboard Circuit Playground lights (p.s. I bloody love the Circuit Playground but it wouldn’t fit in the frame).

Now, you can keep this randomly flickering all of the pixels at the same time, or you can create a thread for each pixel to flicker individually.

Here’s the simple version:

microbit-screenshot

All that remained was to give the frame some little legs (cardboard painted black) and a few log burner fittings (more cardboard painted black), and now I have a log burner you can actually light.

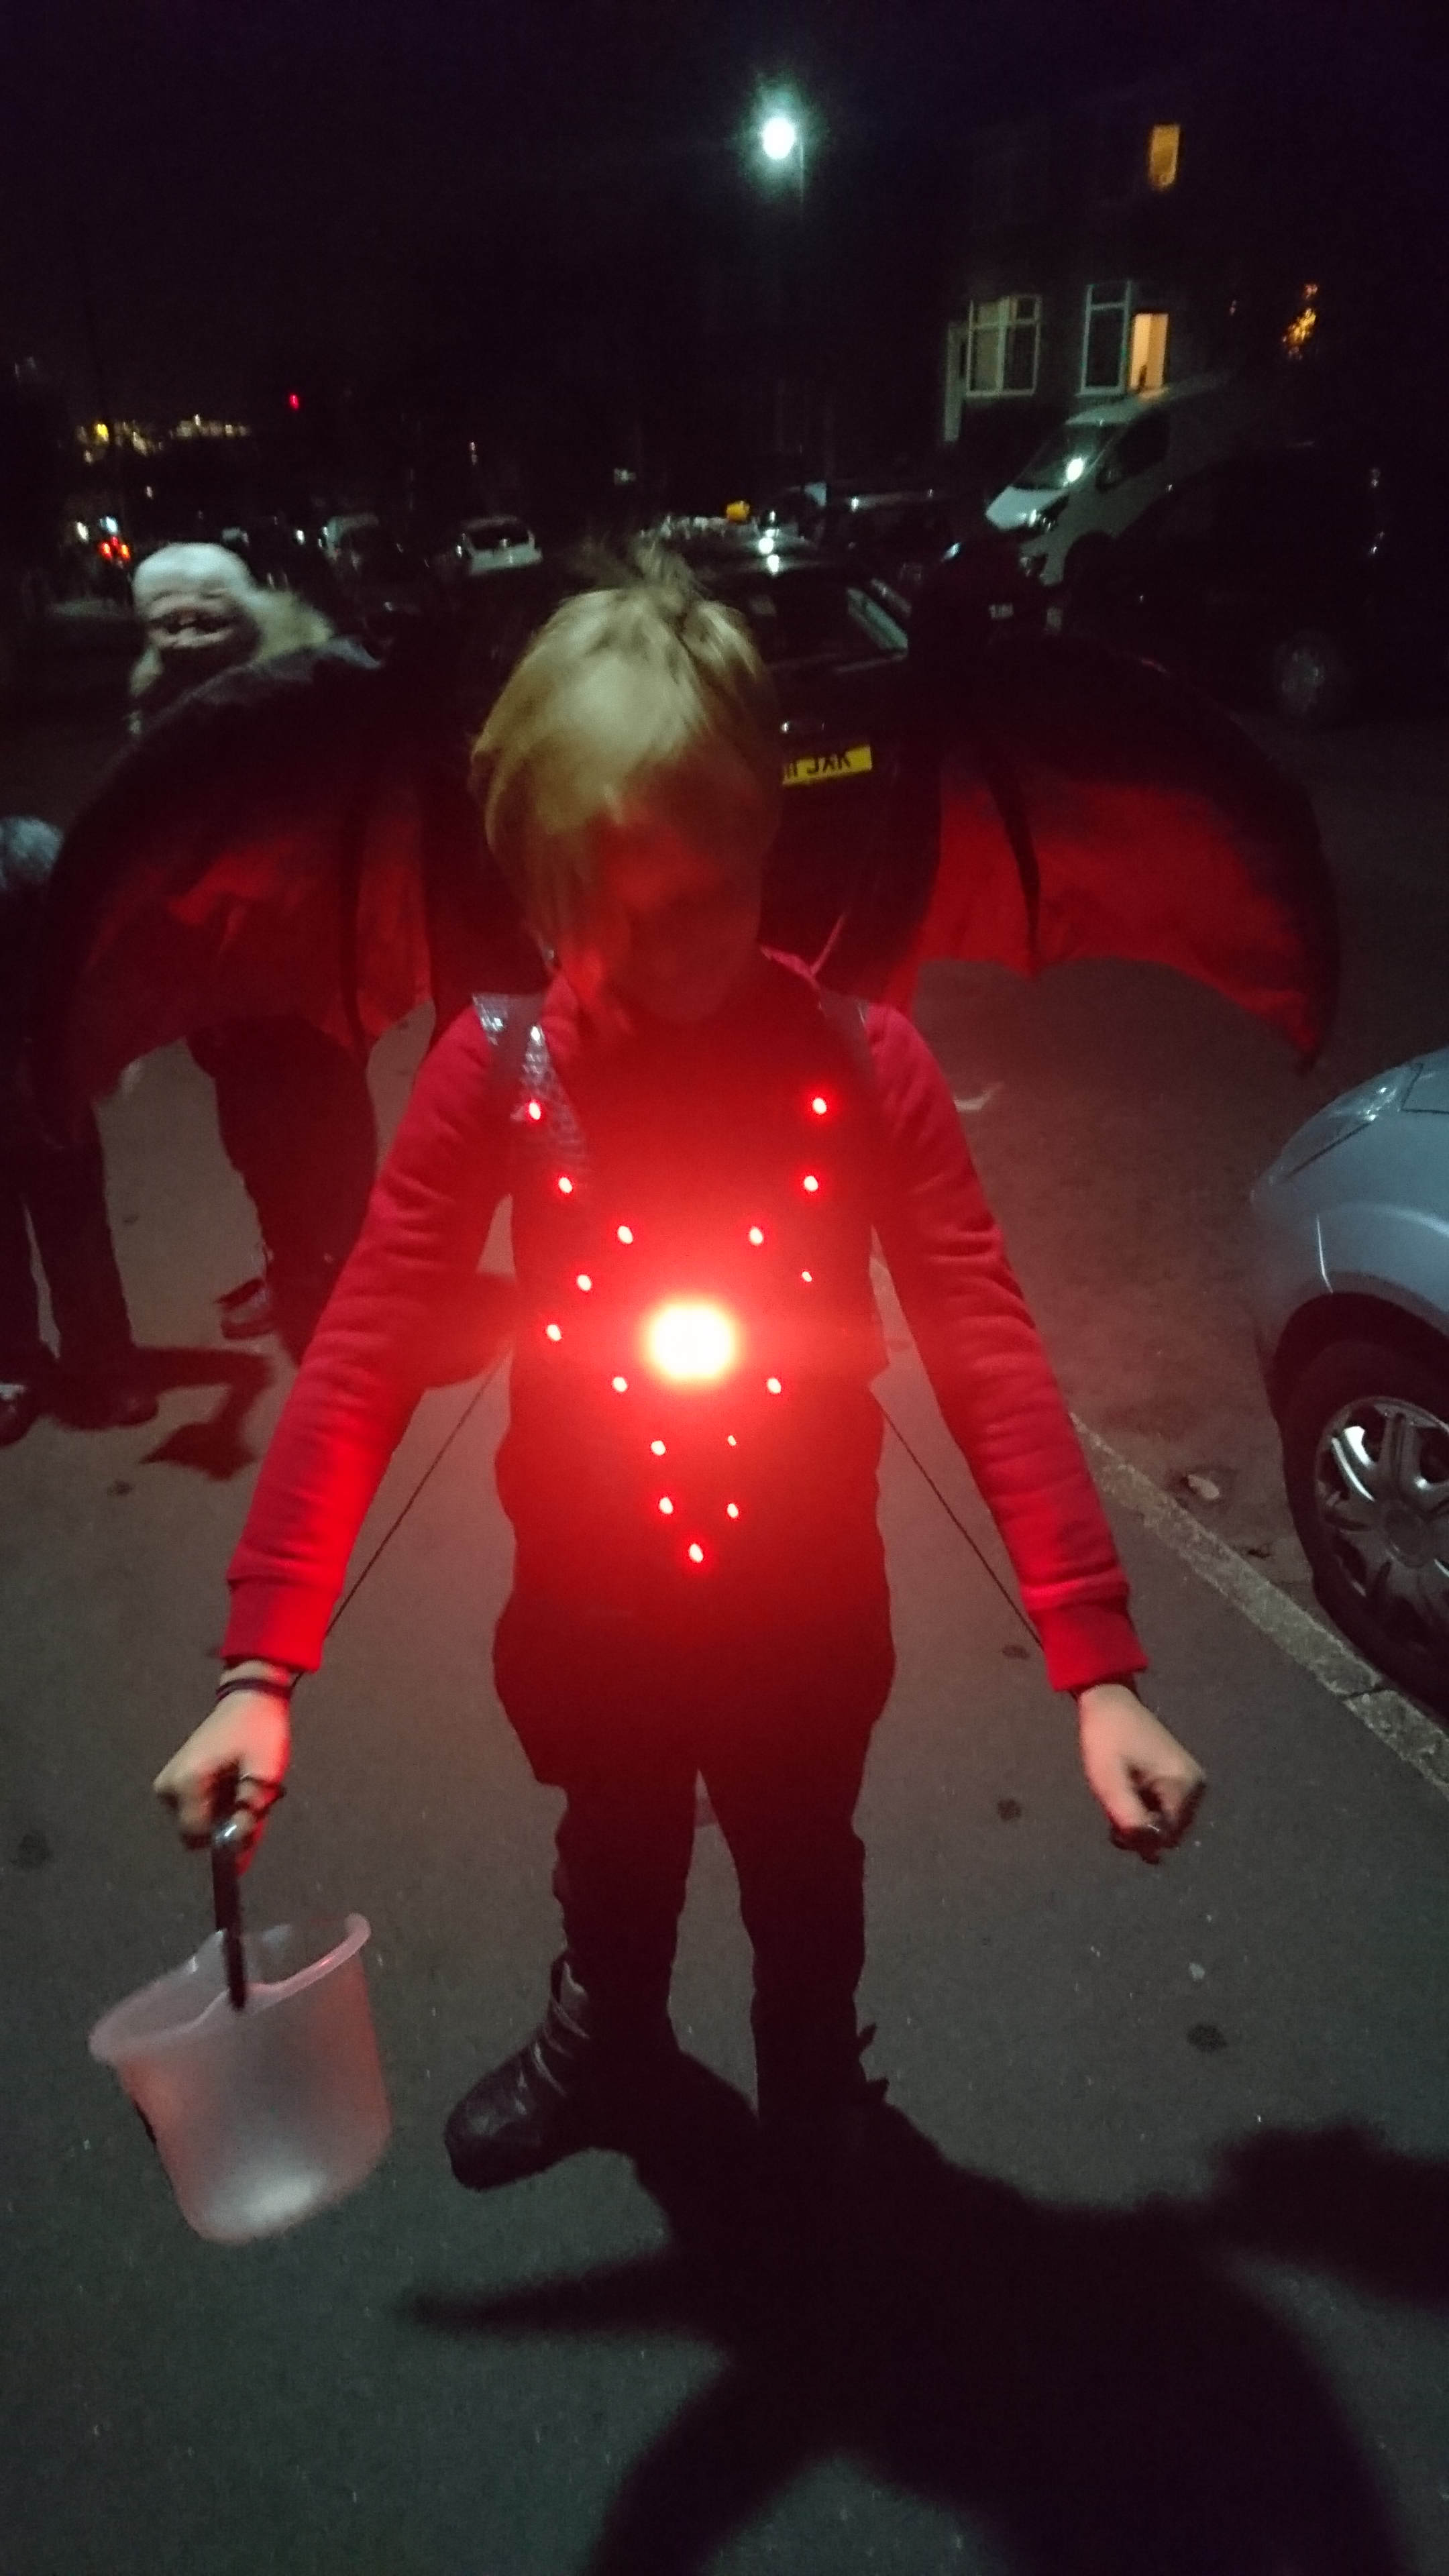
Of course, this is an utterly useless project as per usual, but at least I have a shrine to my aspiration of living off-grid again.

DISCLAIMER: If you use a flame sensor and you are daft or misfortunate enough to set yourself/others/your belongings on fire, then you need to think about whether you should really be allowed Nice Things. Fire is a dangerous thing and you should only play with it if you’re responsible.

Baby Dragon

costumes, Uncategorized

For Halloween, my son told me that he wanted to be a dragon. What kind? I asked.

A fire breathing one.

Since small children with flamethrowers are generally frowned upon, he settled for sound reactive lights.

IMG_z5j09k

I am a busy person, so whatever shortcuts could be thrown at this costume, got thrown at them. First off, black trousers, red sweatshirt, base done. Secondly twitter informed me that articulated dragon wings are a Thing on the internet, so a set of those got purchased pretty sharpish. Luckily Child does not like having anything on his face, whether that be makeup or masks, so it was down to whatever I could figure out to whack on over the sweatshirt.

The design appeared, scribbled by me while Child looked on and corrected me. Frequently.

IMG-20181008-WA0006

And this is how we ended up with this implausibly detailed design.

img-20181008-wa0010.jpeg

The idea is that there’s an Adafruit Circuit Playground Express on the chest, set to detect sounds, and then fire off er, fire-coloured lights over the front of the costume. The other part is that he wanted to actually code the lights, so I was limited to the microcontrollers he had experience of – it was that or the Micro:bit.

The lovely thing about the Circuit Playground is that you can code it at least three ways – MakeCode, Circuit Python, and that other thing. You know, that one.

More on that later.

DSC_0755

As I’m sure everyone does, I wrapped half of Child in chip paper (Americans, it’s the outer layer of what fish and chips is wrapped in. The inner layer is too greasy.) and drew where the chest plate should go. The shoulder plates were fashioned out of the recycling (cereal packets) and tested for flexibility.

Then I marked the pieces out onto the back of some red glitter felt, cut them out and hit a snag. I wanted to pin the shoulder plates together with paper fasteners, but we didn’t have any, so I improvised. Turns out bent paperclips work just fine.

DSC_0762

Chest plate next.

DSC_0758

We did a lot of umming and aahing at this point, as the glittery red didn’t contrast very well with the sweatshirt. I focused on the positioning of the Circuit Playground and the lights while that got mulled over.

I cut a diamond/rhombus shape out of mdf, with a hole for the Circuit Playground to fit in snugly, before realising that wires are a fairly important part of the setup. Cue a bit of filing.

DSC_0770

I gave the MDF a coat of primer, and set an orange perspex diffuser into the hole, and tested this out with the pumpkin candle tutorial from Adafruit to see how it looked. Pretty good, I thought.

There was a problem though. The diffuser meant that the microphone/sound sensor on the board wasn’t picking up enough of a difference between a moving child with rustling clothes, and a roaring child who was pretending to be a dragon. All sorts of misfires (pardon the pun) meant a redesign.

img-20181028-wa0000.jpeg

And then… into my life appeared this AMAZING dragon scale material. Couldn’t not use it, as it was both scaly and black (and thusly contrasted with the sweatshirt perfectly).

img-20181008-wa0014.jpeg

Enter the next three nights of my life, soldering these little things onto snippets of wire to fit on the pattern I’d drawn. Layouts are very important so that you don’t end up with too short a join, or an impossible bridge.

IMG-20181024-WA0023

Exactly why I sat down and drew it first, before cutting all those little bits of wire. Sadly, my brain hadn’t registered that I was looking at the inside of the chest plate, and that the Circuit Playground would be facing outwards. [insert facepalm here]

IMG_20181028_113922

Note the complete flip of the pins. D’oh!

I still hadn’t noticed, so I commenced snipping the wires to the right length and then soldering them at the right angles. I was feeling quite smug at this point.

IMG-20181028-WA0002

And now all I had to do was fit the Circuit Playground onto the wired LED chest plate and… oh. I think I stopped taking photos at this point as I frantically rewired the start of each strand to the correct side of things, so as a consolation prize here’s a very ugly photo of my idea of securing wiring to the back of something where you know no one will see it.

DSC_1446We used MakeCode to add the lights in three sections, so that we could control them in a ripple effect (marked sections 0, 1 and 2 on the paper).

code

On the front, I used stick on gems as diffusers for the pixels. Surprisingly, we only lost one gem while out trick or treating!

DSC_1447

And finally, it’s ugly and quick but it works, we duck taped the chest plate on (the wings covered it), popped the wings over the top and bada bing bada boom – one baby dragon! When he roared, the lights lit up from bottom to top in a kind of ripple effect, and as you can see in the last photo, it was enough to light the way for him and his friends when trick or treating.

DSC_0895
IMG_z5j09k